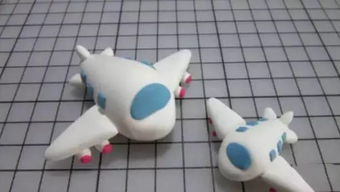
DIY Toy Airplane Tutorial
Creating your own toy airplane can be a fun and rewarding project. Here is a step-by-step guide to help you make your very own toy airplane:
- Thick cardboard or foam board
- Popsicle sticks
- Glue
- Scissors
- Markers or paint for decoration
- String or yarn (optional for propeller)
1. Design:
Decide on the design of your toy airplane. You can choose a simple biplane design or a more complex jet plane design.
2. Cut the Body:
Using the thick cardboard or foam board, cut out the body of the airplane. This will be the main structure of your toy airplane.
3. Wings and Tail:
Cut out wings and a tail from the cardboard or foam board. Attach them to the body of the airplane using glue.
4. Propeller:
If you want a spinning propeller, you can attach a popsicle stick to the front of the airplane and add a small piece of cardboard as the propeller. You can also use string or yarn to create a propeller that spins when pulled.
5. Decoration:
Use markers or paint to decorate your toy airplane. Get creative and add details like windows, stripes, or a pilot in the cockpit.

6. Landing Gear (Optional):
If you want to add landing gear to your toy airplane, you can use popsicle sticks or small wheels attached to the body of the airplane.
7. Test Flight:
Once your toy airplane is complete, give it a test flight! Play around with different angles and see how far it can fly.
- Be patient and take your time with each step to ensure a well-built toy airplane.
- Experiment with different designs and materials to create unique toy airplanes.
- Have fun and enjoy the process of making your own toy airplane!
By following these steps and using your creativity, you can make a personalized toy airplane that will provide hours of entertainment. Happy crafting!
