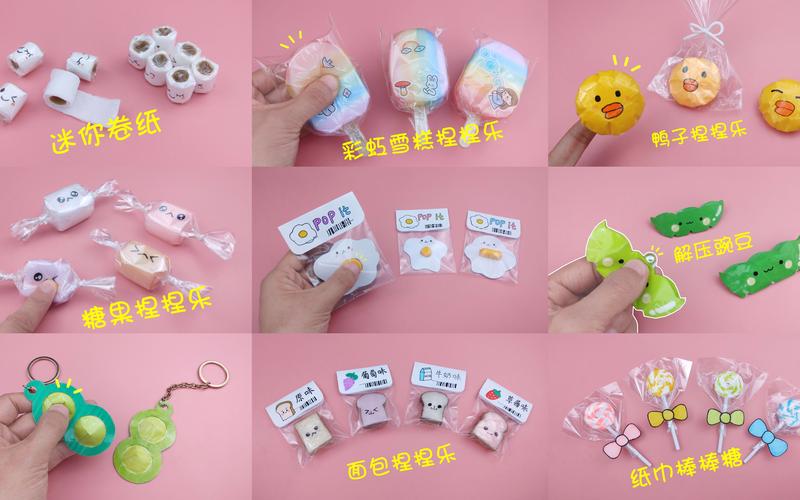
MaterialsNeeded:
DIY Toy Stress Reliever Tutorial
Creating your own toy stress reliever can be a fun and rewarding project. Here is a step-by-step guide to help you make your very own DIY toy stress reliever:
- 1. Balloons
- 2. Flour or rice
- 3. Funnel
- 4. Scissors
Make sure you have all the materials ready before starting the project. Inflate the balloon to stretch it out a bit.
Use a funnel to fill the balloon with flour or rice. You can choose the amount based on how squishy or firm you want your stress reliever to be.
Once the balloon is filled to your desired level, carefully tie the end to secure the filling inside.
You can manipulate the balloon to shape it into a round stress reliever or any other shape you prefer. Be creative!
Your DIY toy stress reliever is now ready to use. Squeeze it, squish it, and enjoy the calming effect it can provide during stressful times.
- - Experiment with different fillings like beans or lentils for varied textures.
- - Decorate your stress reliever with markers or stickers to personalize it.
- - Make multiple stress relievers in different sizes and shapes for a collection.
Have fun creating your own DIY toy stress reliever and feel free to customize it to suit your preferences. It can be a great way to relax and unwind whenever you need a break!

